Recently I had to download files from a RedwoodJS Function (AWS Lambda serverless function). The files contained sensitive information, so I needed to host them somewhere where I could control who could download them. Easiest for me was to put them in an Amazon AWS S3 Bucket, and then create an IAM policy to give a single user read-only access to the files.
Here's a step-by-step guide or tutorial on how I did it.
AWS S3 Bucket
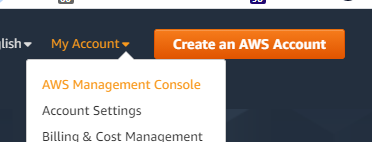
The first step is going to be to set up our storage. Go to https://aws.amazon.com/ and sign in to the AWS Management Console (or create an account if you don't have one already).
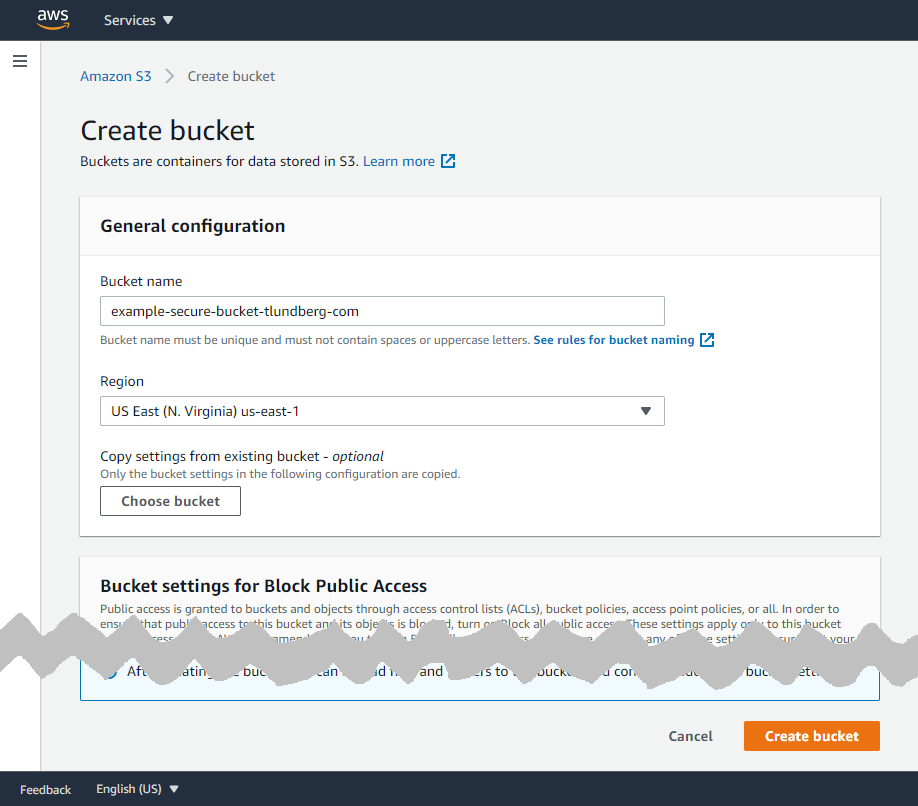
Choose to sign in as "Root user" and then you'll find S3 under "Storage" to the left. Here's a direct link that you might be able to use https://s3.console.aws.amazon.com/s3/home?region=us-east-1. Click "Create bucket" and give it a unique name. All other options can be left with their default values, so just scroll down and click "Create bucket"
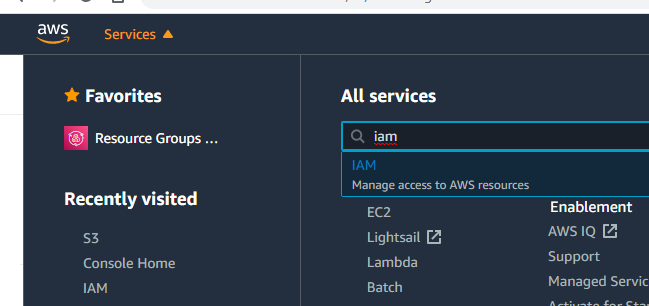
Now that you have a new bucket created, it's time to set up a user with a policy that lets it access the files in the bucket. In the upper left corner of the screen you click on "Services" and then you can search for "iam" and click the first and only result to go to "Identity and Access Management".
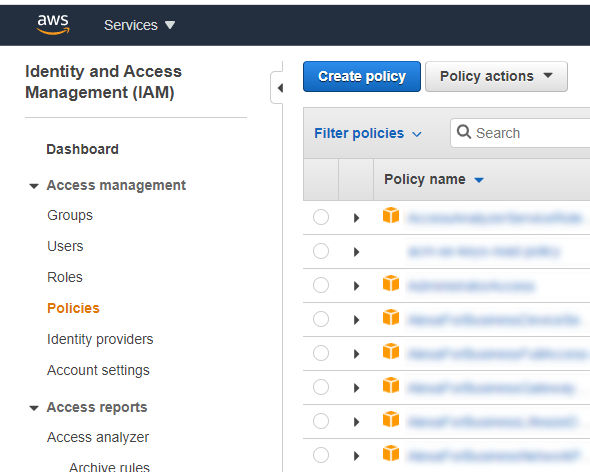
Click "Policies" in the left menu and then the blue "Create policy" button up top.
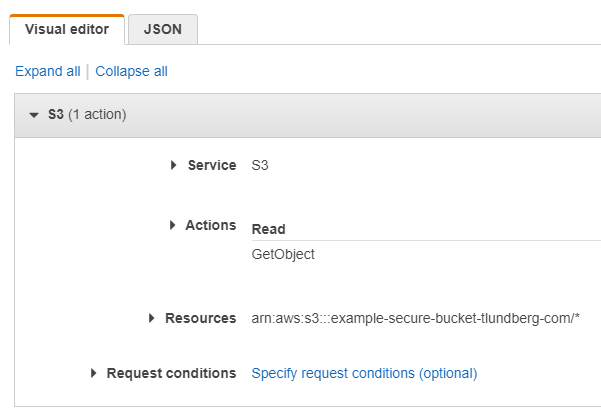
When creating your new policy you should select the "S3" service, choose the "GetObject" Read action, add the ARN (Amazon Resource Name) for the files you want to give access to by typing in the name of your newly created bucket and clicking "Any" on the object name to allow access to all files in the bucket, and finally you can leave the "Request conditions" as it is.
This is what it looked like for me when I created the policy
Click "Review policy" (bottom right), give your policy a name, like "example-secure-bucket-tlundberg-com-policy" and finally click the blue "Create policy" button.
Now, with the policy created, we'll go ahead and create a user that we'll connect this policy to. So click "Users" in the left menu and the the blue "Add user" button. Give the user a name, like "example-secure-bucket-tlundberg-com-user" and select the "Programatic access" access type. This will let you use this user with the AWS SDK and APIs.
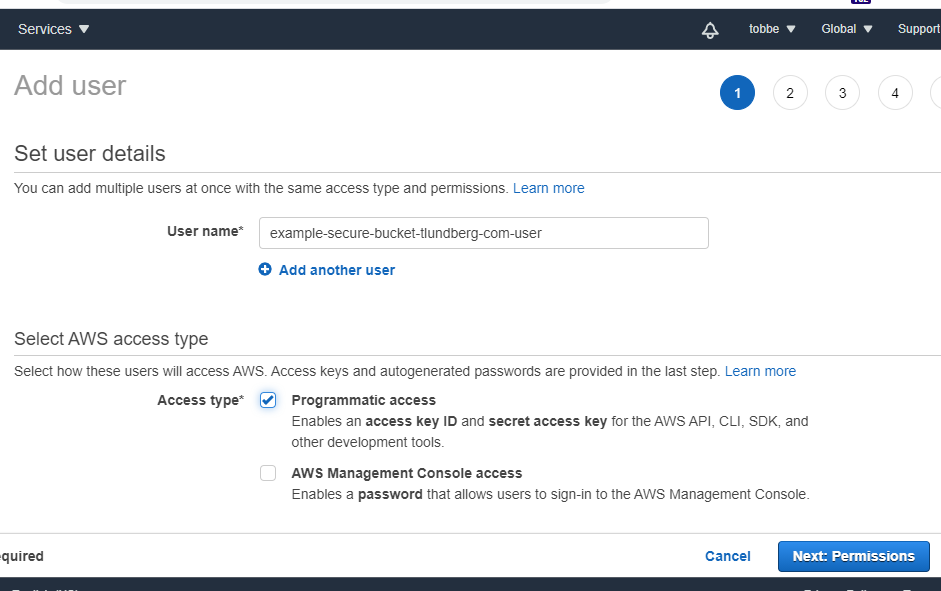
Now click "Next: Permissions", and on the new page you chose "Attach existing policies directly" (it's the last box in the row up top). Filter the list of policies to find the one you created previously and click the checkbox next to it.
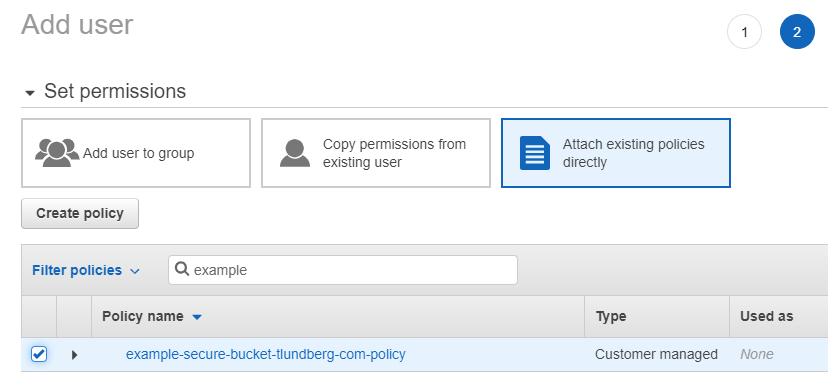
This was the last step where we had to do anything, so just click "Next: Tags", "Next: Review" and finally "Create user".
Now it's important you save the secret access key for this user, because you will not be able to find it again. Either download the .csv file, or copy/paste the values to somewhere safe. After you've saved the credentials you can close the "Add user" wizard. Should you lose the Access key ID and/or the Access Secret you can come back here to generate new ones.
You're finally done with AWS and it's time to move on to RedwoodJS stuff.
RedwoodJS Function
Create a new Redwood project if you don't have one already, and add a new file in api/src/functions/. I called mine s3download.js. Add this code to the file
const AWS = require('aws-sdk')

export const handler = async () => {
  const s3 = new AWS.S3({
    accessKeyId: process.env.S3_KEY_ID,
    secretAccessKey: process.env.S3_SECRET,
    region: 'us-east-1',
  })

  try {
    const s3Result = await s3
      .getObject({
        Bucket: process.env.S3_BUCKET,
        Key: 'my_s3_file.txt',
      })
      .promise()

    const s3File = s3Result.Body.toString('utf-8')

    console.log('file contents', s3File)
    return { statusCode: 200, body: 'File downloaded successfully' }
  } catch (err) {
    console.error(err)
    return { statusCode: 500, body: err.message }
  }
}
We have to install the aws-sdk package to use this function. Do that by running yarn workspace api add aws-sdk.
As you can see the function uses three environment variables. Under no circumstances should you put your bucket credential directly in your source code, because it will (probably) be pushed to GitHub, where other people could see it. Even if it's a private repo it's just yet anohter place your credentials could be compromised. So instead we use environment variables. Let's add them to the .env file
S3_KEY_ID=KYSA9EKSDFHCK88194UK
S3_SECRET=dsli5lsi92klsjdf120sdfGsiSDDKSKS3sdflkjS
S3_BUCKET=example-secure-bucket-tlundberg-com
Those are just made-up values to show you what it should look like, use your values instead. Also make sure the region in the code matches the region you have your bucket in.
Before we can test this we need to upload the my_s3_file.txt file to the s3 bucket. Easiest is to just drag-and-drop it in the AWS web interface. So go ahead and do that.
It's finally time to try it all out! Run yarn rw dev and you should be able to access your function at http://localhost:8911/s3download. You should see the message "File downloaded successfully" in your browser, and if you switch over to your console you should see the content of the file.
Did it work? Congratulations! All the AWS setup is not easy. Thankfully it's pretty easy to use the SDK once everything is set up correctly.
Thanks for reading!
(Header photo by Jessica Johnston on Unsplash)